
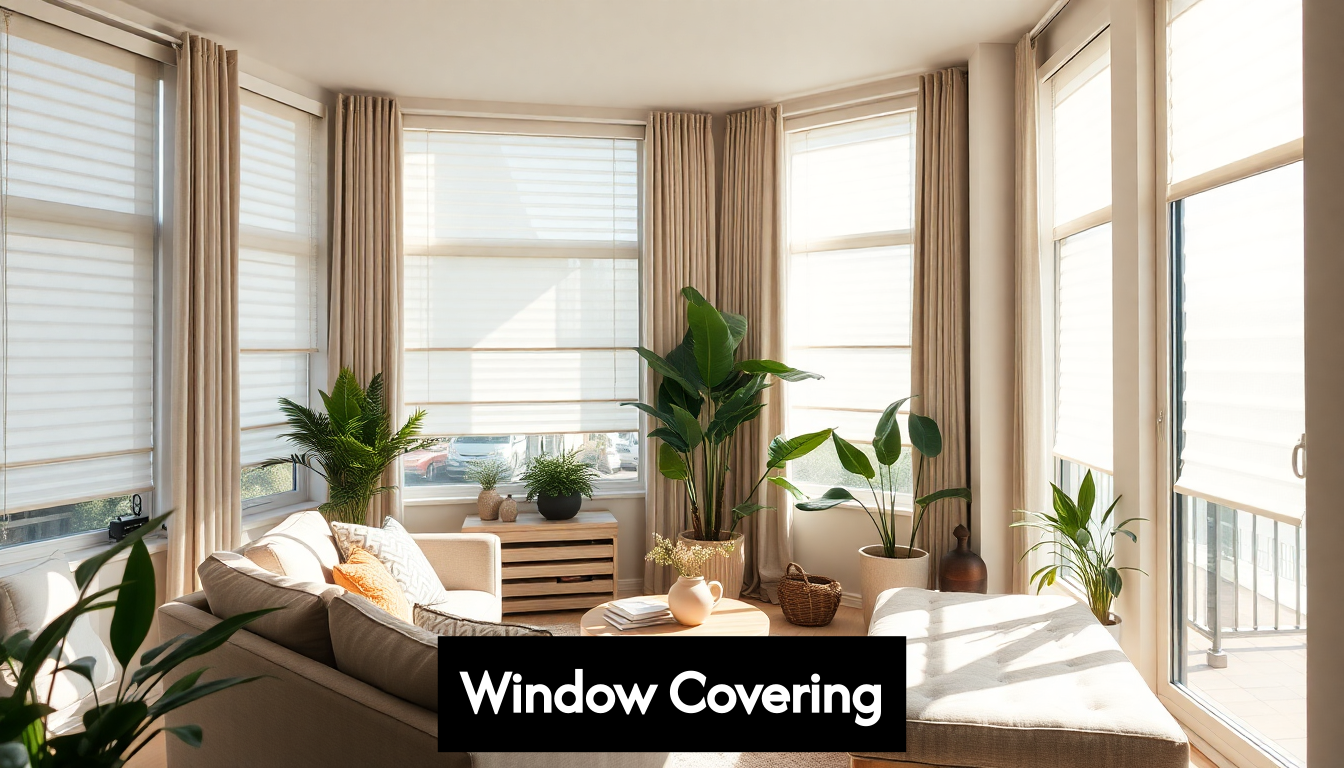
Installing window coverings can be a daunting task. A perfect fit is essential for both aesthetics and functionality of your space. Did you know that improperly measured window treatments can lead to significant energy loss, wasting up to 30 percent of heating and cooling costs? But here’s the kicker: achieving a flawless installation is often less about skills and more about planning. With the right measurements and tools, you can easily transform your windows, enhancing both comfort and style in your home.
Table of Contents
- Planning For A Perfect Fit
- Gather Essential Tools And Materials
- Installation Process Made Simple
- Aftercare And Troubleshooting Tips
Quick Summary
| Takeaway | Explanation |
|---|---|
| Accurate Measurements are Crucial | Proper window treatment fit relies on precise measurements; always measure width and height at multiple points for accuracy, and use the smallest measurements for ordering. |
| Consider Professional Help for Complex Installations | Situations with unusually large, high, or uniquely shaped windows, as well as motorised systems, are best handled by professionals to ensure proper installation and avoid damage. |
| Regular Maintenance Extends Lifespan | Establish a consistent maintenance routine that includes weekly dusting and monthly deep cleaning to keep window coverings functioning well and looking their best in Durban’s coastal environment. |
Planning for a Perfect Fit
Before diving into your window covering installation, proper planning is essential for achieving that perfect fit. A precisely fitted window treatment not only looks more polished but also performs better in terms of light control, privacy, and energy efficiency. According to research from the U.S. Department of Energy, the effectiveness of window coverings is highly dependent on accurate measurement and selection based on window type, climate, and user operation requirements. Let’s explore how to plan effectively for your window covering installation in Durban.
Taking Accurate Measurements
The foundation of a perfect fit starts with precise measurements. Many installation disasters stem from inaccurate numbers, so this step deserves your full attention.
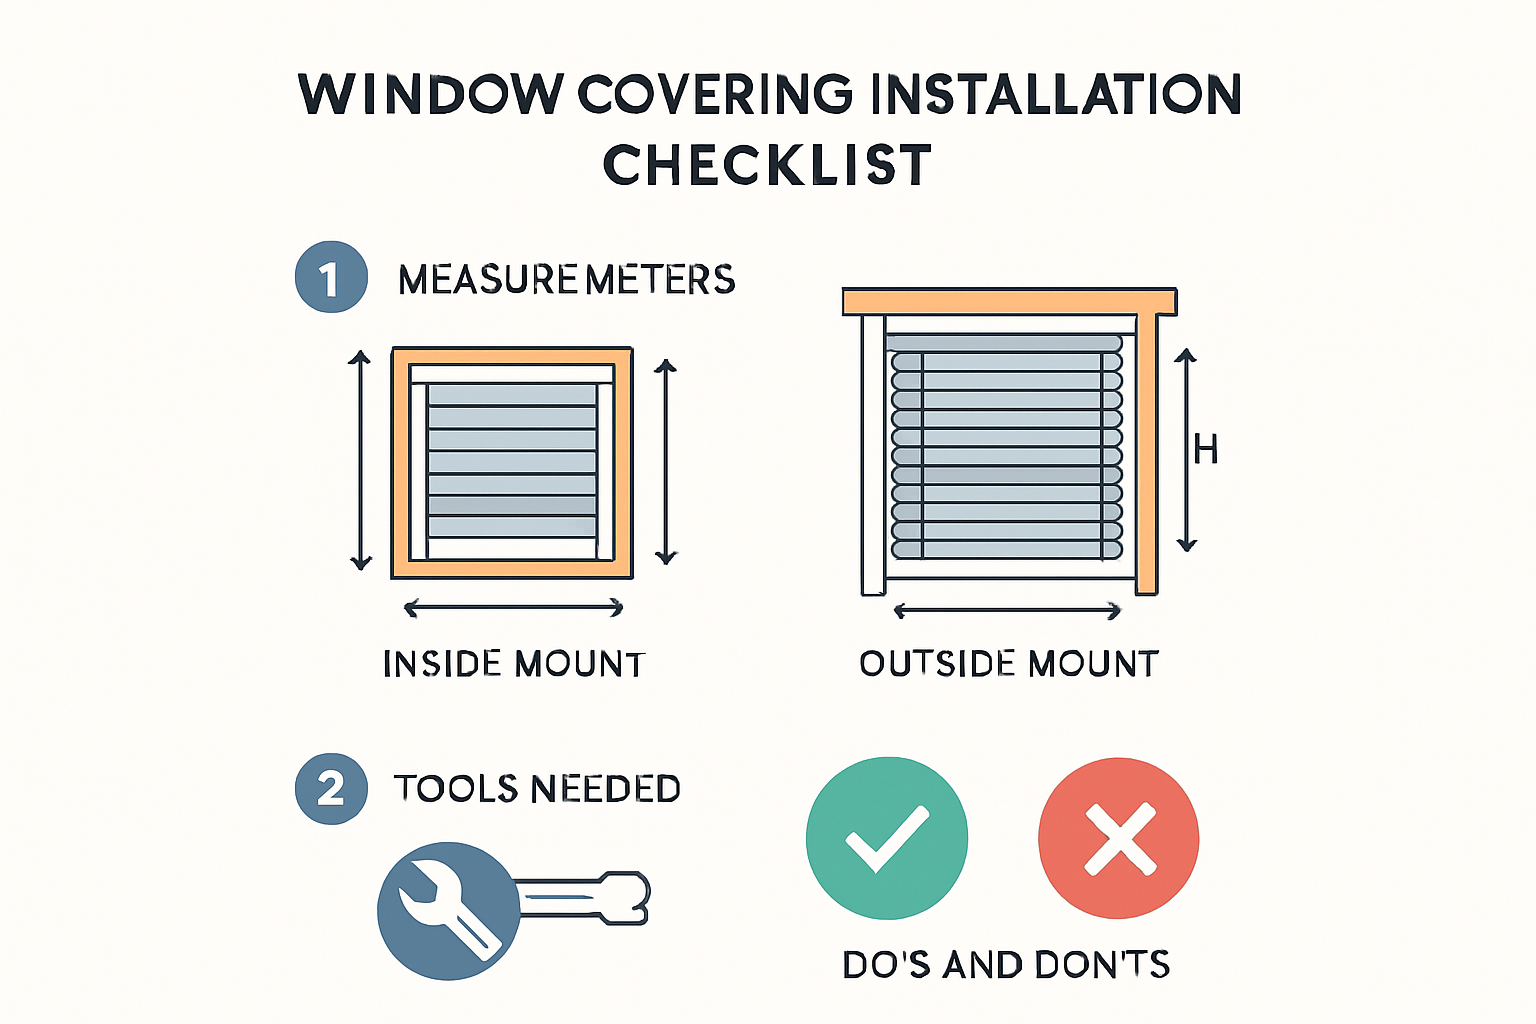
First, decide whether you want an inside or outside mount. Inside mounts fit within the window frame for a clean, built-in look, while outside mounts cover the entire window and frame, offering better light blockage and privacy.
For inside mounts:
- Measure the exact width at three points: top, middle, and bottom of the window opening
- Measure the exact height at three points: left side, middle, and right side
- Use the smallest measurement for ordering to ensure proper fit
- Deduct 1/4 inch from the width measurement to allow for smooth operation
For outside mounts:
- Measure the width including the area you want to cover beyond the window frame (typically add 5-8 cm on each side)
- Measure the height from where you want the top of the treatment to sit, down to where you want it to end
- No deductions are necessary as you’re specifying the exact size you want
Always use a metal tape measure for accuracy, and measure to the nearest millimetre. Double-check all measurements before placing your order, as custom window coverings cannot be returned due to measurement errors.
Assessing Your Window Type and Surrounding Space
Every window has unique characteristics that influence the type of covering and installation method. Research from Lawrence Berkeley National Laboratory shows that energy savings from installed window coverings are significantly influenced by correct fit, attachment type, and matching the product’s thermal properties to baseline window conditions.
Examine your windows for these crucial details:
Window Operation: Do your windows slide up and down, swing inward or outward, or tilt? This determines which coverings will work without impeding function. For example, casement windows that open outward require special consideration, as standard blinds might prevent proper window operation.
Depth of Window Frame: For inside mounts, measure the depth of your window frame to ensure there’s enough space for your chosen window covering. Different products require different minimum depths.
Obstructions: Check for any handles, locks, or alarm sensors that might interfere with installation or operation. Also note radiators, furniture, or architectural elements that might affect accessibility.
Window Material: Different frame materials (wood, aluminium, vinyl) may require specific mounting hardware and techniques.
Creating Your Installation Timeline and Checklist
A comprehensive window covering installation checklist should include a realistic timeline that accounts for ordering, delivery, and installation.
For custom window treatments in Durban, allow 2-4 weeks for manufacturing after placing your order. Installation typically takes 1-3 hours per window, depending on complexity and accessibility. Planning a full-home installation? Consider scheduling over multiple days to ensure quality work without rushing.
Your pre-installation checklist should include:
- Clearing furniture away from windows (at least 1 metre)
- Removing existing window treatments and hardware
- Cleaning window frames and surrounding areas thoroughly
- Gathering needed tools and hardware in advance
- Planning for child safety if you have young children (cordless options or cord cleats)
As noted in government building science reports, detailed planning for window covering fit—including analysis of the window’s dimensions, orientation, and frame type—is essential for both energy efficiency and occupant comfort. By taking the time to plan properly, you’ll ensure a smooth installation process and a perfect fit that enhances both the function and beauty of your Durban home or business.
Gather Essential Tools and Materials
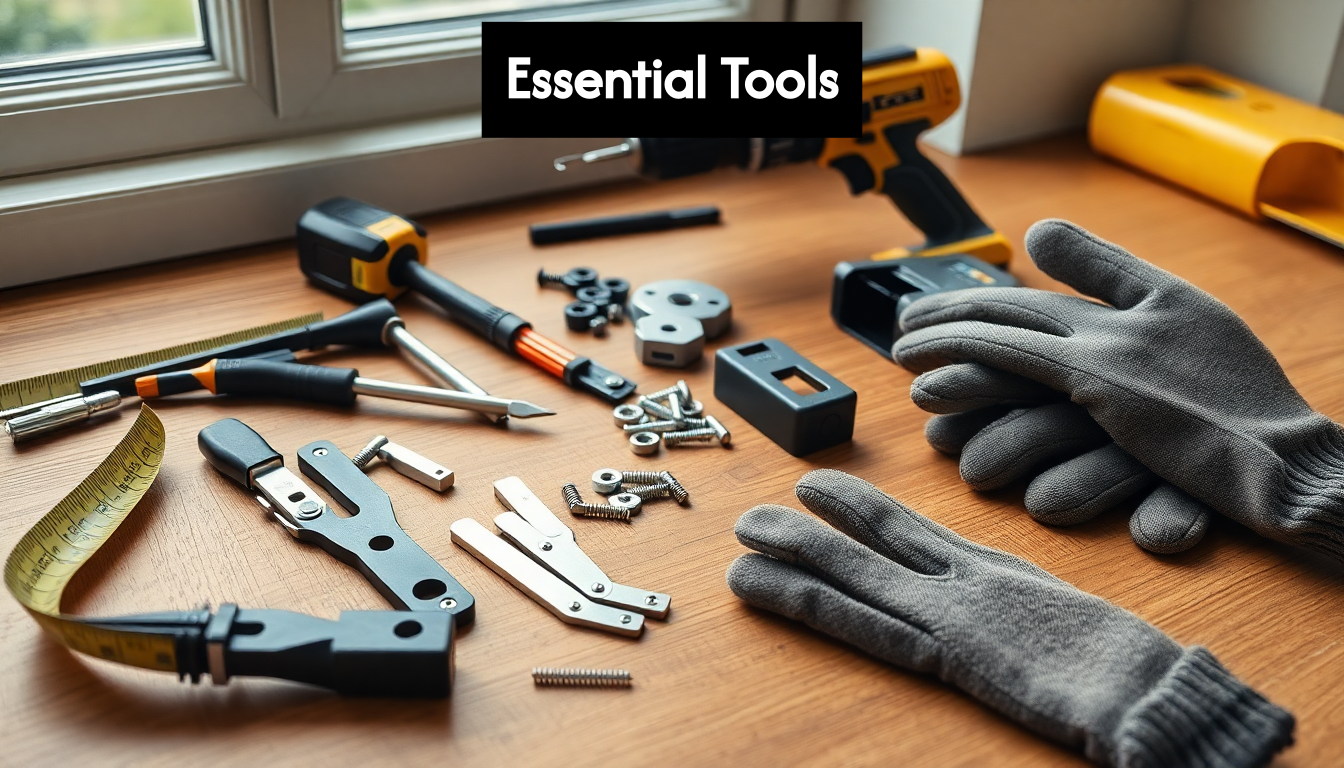
Successful window covering installation begins with having the right tools and materials at your fingertips. Being prepared not only makes the job easier but also prevents those frustrating mid-project trips to the hardware store. According to Hartley Window Coverings, a complete window shade installation requires at least 9 essential tools. Let’s break down everything you’ll need for your Durban installation project.
Basic Installation Tools
These fundamental tools form the backbone of any window covering installation project:
Measuring Tools
- Metal measuring tape (at least 3 metres long)
- Carpenter’s pencil or fine-tip marker
- Notepad for recording measurements
- Level (60cm or longer preferred)
The level is particularly crucial as even minor misalignments become glaringly obvious with window coverings. Whether you have a traditional bubble level or a laser level, this tool ensures your installations look professional and operate properly.
Drilling and Mounting Tools
- Power drill with various drill bits (for wood, metal, and masonry)
- Screwdriver set (both Phillips and flathead)
- Hammer
- Stud finder (to locate solid mounting points in walls)
As recommended by Home Depot, using a power drill with appropriate drill bits is essential for secure and level mounting. The right drill bit makes all the difference—wood bits for timber frames, masonry bits for concrete or brick, and metal bits for aluminium frames.
Safety Equipment
- Safety goggles to protect your eyes from debris
- Work gloves for handling sharp brackets and hardware
- Dust mask if drilling into masonry or concrete
- Stable step ladder or stool (avoid standing on furniture)
Many DIYers skip safety gear, but protecting your eyes is non-negotiable when drilling overhead. A sturdy step ladder provides safe access to higher windows—wobbly chairs are never a suitable substitute.
Specific Hardware and Fasteners
The exact hardware you’ll need varies based on your window covering type and mounting surface:
Window Covering-Specific Hardware
- Mounting brackets (typically included with your window coverings)
- Headrail supports for wider blinds or curtains
- Valance clips and returns (if applicable)
- Support brackets for heavier treatments
Fasteners for Different Surfaces
- Wood screws (usually 32mm to 50mm)
- Wall anchors for drywall/plasterboard
- Masonry anchors for brick or concrete
- Metal screws for aluminium frames
If your window coverings didn’t include appropriate screws, don’t improvise with whatever you find in your toolbox. The right length and type of screw makes a significant difference in installation security. For heavy window treatments in Durban homes, where occasional strong coastal winds can create pressure, proper anchoring is especially important.
Specialty Materials for Different Window Treatments
Certain window coverings require additional specialized tools and materials:
For Curtains and Drapery
- Stud finder (essential for heavy curtain rods)
- Socket wrench set for certain rod brackets
- Iron and ironing board for removing packaging creases
For Blinds and Shades
- Cord cleats for child safety
- Spacer blocks for windows with protruding handles
- End caps and valance returns
For Window Film Applications
- Specialized tools are necessary for proper installation. According to Window Film, you’ll need a rubber squeegee, razor blade scraper, utility knife, yellow film pencil, spray bottle, and slip-tack mounting solution, in addition to common household items like scissors and paper towels.
Being equipped with the proper tools not only makes your installation smoother but also ensures the longevity of your window treatments. In Durban’s coastal environment, proper installation is particularly important to withstand humidity and occasional strong winds.
Before starting your project, gather all these tools and materials in one accessible location. Check that your power tools are charged or have access to power outlets. Having everything prepared saves time and reduces frustration during the installation process.
One final tip for luxury homeowners in Durban: consider investing in high-quality tools if you plan to install multiple window coverings throughout your property. Better tools provide more precise results and make the installation process significantly easier, resulting in a more professional finish that complements your premium window treatments.
Installation Process Made Simple
With proper planning and the right tools assembled, it’s time to tackle the actual installation of your window coverings. While many homeowners in Durban opt for professional installation, understanding the process helps even if you’re hiring experts. According to This Old House, professional window covering installation provides several advantages including quicker and more precise installation, better fit and functionality, and possibly a workmanship warranty.
Preparing the Space
Before mounting any hardware, prepare your workspace properly to ensure a smooth installation:
-
Clear the area around your windows completely. Remove any furniture, plants, or decorations that might obstruct your movement or risk being damaged.
-
Clean the window frame thoroughly. Dust, dirt, and old paint chips can interfere with measurements and mounting. Use a damp cloth followed by a dry one to ensure the surface is clean and dry.
-
Check for any damage to the window frame that might affect installation. Rotting wood, crumbling drywall, or loose masonry should be repaired before proceeding.
-
Remove any existing window coverings and hardware. Fill and sand any holes from previous hardware if they won’t be used for the new installation.
-
Lay out all your tools and hardware in an organized fashion. Group screws with their corresponding brackets, and keep your drill, level, and measuring tape easily accessible.
This preparation stage, while often overlooked, prevents frustrating delays and potential problems during the actual installation.
Step-by-Step Installation Technique
While specific techniques vary depending on your window covering type, most follow this general sequence:
1. Mark bracket positions
Hold the first bracket in place at your predetermined height. Use a pencil to mark the screw holes. For inside mounts, ensure the bracket allows enough depth clearance for your window covering.
2. Check alignment with level
Place your level on the marks to confirm they’re perfectly horizontal. For wider windows where multiple brackets are needed, use a straight edge or string to ensure all brackets align perfectly.
3. Pre-drill mounting holes
For most surfaces, pre-drilling prevents splitting and makes screw insertion easier. Choose the appropriate drill bit size based on your screw diameter and wall material. For drywall installations, pre-drill holes for wall anchors.
4. Secure first bracket
Fasten the first bracket using the appropriate screws. Tighten until secure but avoid over-tightening, which can strip the hole or damage the bracket.
5. Mount remaining brackets
Repeat the process for additional brackets, frequently checking alignment with your level. For blinds and shades, brackets typically go at each end of the headrail with support brackets every 60cm for wider treatments.
6. Install the window covering
With brackets mounted, install your window covering according to the manufacturer’s instructions. For most blinds and shades, the headrail snaps or slides into the brackets. For curtains, slide the rod through the curtain panels before attaching to the brackets.
7. Test operation
Before considering the job complete, thoroughly test the operation of your new window covering. Raise and lower blinds multiple times, checking for smooth operation. Adjust tension if necessary.
When to Consider Professional Installation
While many standard window coverings can be installed as DIY projects, certain situations warrant professional installation. According to Shutters by Doyle, industry experts strongly recommend hiring professional blind installers, especially for custom-shaped windows like arches and ovals, to ensure accurate measurements and proper installation without damaging windows.
Consider professional installation when:
- You have unusually large or high windows that require specialised equipment to reach safely
- Your windows have irregular shapes like arches, circles, or angles
- You’re installing motorised or smart window coverings with electrical components
- You’re investing in premium or custom window treatments
- Your window frames are made of unusual materials
Professional installation costs range from $109-$198 on average per window, according to Angi, with total costs for an average of eight windows ranging between $208 and $1,342 in 2025. While this represents an additional investment, professional installation often includes warranties and ensures optimal performance of your window coverings.
For luxury properties in Durban, professional installation offers an added layer of quality assurance. Professionals bring experience with the coastal environment’s specific challenges, including humidity considerations and stronger-than-average UV exposure, which can affect both installation techniques and material choices.
Whether you choose DIY installation or hire professionals, following a systematic process ensures your window coverings will function properly and look beautiful for years to come. The right installation transforms your window coverings from mere functional items into integral design elements that enhance your Durban home’s comfort, privacy, and aesthetic appeal.
Aftercare and Troubleshooting Tips
Proper aftercare is essential for maintaining the beauty and functionality of your newly installed window coverings. Even the highest quality window treatments in Durban homes require regular maintenance to withstand the coastal climate and daily use. According to Enviroscreen, the British Standard BS 5867: 2025 update emphasizes the importance of dedicated aftercare for window coverings to ensure long-term functionality and address issues such as broken blinds and replacement guidance.
Regular Maintenance Routines
Establishing a consistent maintenance schedule will extend the life of your window coverings and keep them looking their best.
Weekly Care
Dust accumulates quickly, especially in Durban’s coastal environment. A simple weekly dusting prevents build-up that can damage mechanisms and fabrics over time.
- For blinds: Use a microfibre cloth, feather duster, or vacuum with brush attachment on low suction. Dust both sides of slats and wipe headrails.
- For curtains: Vacuum using upholstery attachment on low suction, working from top to bottom.
- For shutters: Wipe with a slightly damp microfibre cloth, paying attention to corners and crevices.
Monthly Deep Cleaning
Depending on your window covering material, different approaches apply:
Fabric blinds and curtains: Check manufacturer’s guidelines first. Many can be vacuumed with an upholstery attachment. For washable fabrics, follow specific washing instructions—usually gentle cycle with mild detergent.
Wooden blinds and shutters: Wipe with a cloth slightly dampened with wood cleaner. Avoid excess moisture which can warp or discolour wood. In Durban’s humidity, this is particularly important.
Vinyl and aluminium blinds: These can typically handle more thorough cleaning. For heavily soiled blinds:
- Fill bathtub with lukewarm water and mild detergent
- Immerse blinds fully (ensure headrail stays dry for motorised options)
- Gently clean with soft brush
- Rinse thoroughly and hang to dry completely before reinstalling
Seasonal Maintenance
Twice yearly, conduct a more comprehensive check:
- Inspect all hardware, brackets, and moving parts for signs of wear
- Tighten any loose screws in mounting brackets
- Check cords and chains for fraying or damage
- Apply silicone spray to tracks and moving parts if operation seems stiff
- Test motorised features and replace batteries if needed
As noted in the Enviroscreen report, routine aftercare services help maintain window coverings’ performance and appearance, particularly in high-use settings.
Common Problems and Solutions
Even with proper installation and maintenance, issues may arise. Here’s how to address the most frequent problems:
Blinds Won’t Raise or Lower Properly
- Check for obstructions in the headrail or along the sides
- Ensure cords aren’t tangled or caught
- Examine the locking mechanism—it may need adjustment
- For motorised blinds, check power source or replace batteries
Slats Won’t Tilt
- Inspect the tilt mechanism for damage
- Look for obstructions preventing movement
- Check if any slats are bent and gently straighten them
Blinds or Curtains Hanging Unevenly
- Verify that all brackets are level and securely fastened
- Check if the headrail is properly seated in all brackets
- For curtains, ensure the rod is level and rings move freely
Fading or Discolouration
Durban’s intense sunlight can accelerate fading. For affected window coverings:
- Rotate blinds occasionally if possible to even out exposure
- Consider UV-protective window film to reduce future fading
- For severe cases, contact the manufacturer about replacement options
According to Gotcha Covered, immediate troubleshooting and professional support at the time of installation can resolve many issues with custom window treatments, ensuring correct operation and homeowner satisfaction from the outset.
When to Seek Professional Help
While many issues can be resolved with DIY solutions, some situations warrant professional intervention:
Safety Issues
If you notice any of these warning signs, contact a professional immediately:
- Loose brackets that could cause window coverings to fall
- Frayed cords that present strangulation hazards for children or pets
- Motorised systems that malfunction erratically
Mechanism Failures
Complex operating systems sometimes require expert repair:
- Internal mechanisms in roller or roman shades
- Spring failures in tension systems
- Electronic components in automated systems
Material Damage
Certain types of damage benefit from professional attention:
- Significant water damage to wooden elements
- Torn fabric that requires special stitching or replacement
- Warped or bent components that affect functionality
For luxury properties in Durban, establishing a relationship with a window treatment specialist who offers ongoing maintenance services can be valuable. Many companies offer aftercare packages that include annual inspections, cleaning, and minor repairs.
Proper aftercare not only preserves your investment but also ensures your window coverings continue to enhance your home’s comfort and aesthetic appeal. By implementing regular maintenance routines and addressing minor issues promptly, you’ll extend the life of your window treatments and maintain their beauty for years to come.
Frequently Asked Questions
How do I take accurate measurements for window coverings?
To take accurate measurements, decide between inside or outside mount. For inside mounts, measure the width at the top, middle, and bottom, and the height at the left, middle, and right, using the smallest measurements for ordering. For outside mounts, measure the width beyond the window frame and the desired height without deductions.
When should I consider professional installation for window coverings?
Consider professional installation if your windows are unusually large or high, have irregular shapes, or you’re installing motorised or custom window treatments. Professionals ensure accurate measurements and installation without damaging your windows.
What tools are essential for installing window coverings?
Essential tools include a metal measuring tape, level, power drill, screwdriver set, and safety equipment like goggles and gloves. Make sure you have the correct mounting brackets and fasteners specific to your wall and window treatment type.
How do I maintain my window coverings after installation?
Regular maintenance includes weekly dusting and monthly deep cleaning, specific to the material of your window coverings. Ensure to check for wear on hardware, tighten loose screws, and clean annually to extend the life and functionality of your window treatments.
Transform Your Space with Urban Studio Designs
Are you struggling with the daunting task of measuring and installing window coverings as highlighted in our Complete Window Covering Installation Checklist 2025? You don’t have to face those challenges alone. At Urban Studio Designs, we transform your vision into reality with custom-made products that eliminate the stress of installation mishaps!

Our extensive collection of blinds, shutters, and outdoor coverings are crafted with impeccable precision and come with a warranty for peace of mind. Whether you need elegant curtains or robust security screens, we have the perfect solution tailored just for you. Forget about the hassle of measuring and installing; we provide professional installation services that ensure a seamless fit, maximising energy efficiency and style.
Why wait? Experience the difference of expertly made, high-quality window treatments that will elevate your home. Browse our extensive range now at Urban Studio Designs and find the ideal match for your decor! Your dream windows are just a click away!
